Problem: The SQM was delivered without any spare lamps, and the 8 lamps in each lamp ring are in series
The SQM has two lamp rings, a set of 8 lamps run at 1A and a set of 8 lamps run at 3A. The current set point and the maximum lamp power supply voltages are fixed by the YES firmware and hardware. Because the 8 lamps in each ring are in series, if one fails we lose two of the three possible output levels. YES did not respond to my query for purchasing replacement lamps, but they have told me they “did not change anything” from the SQM they were given as a guide (probably the NIST one, but there is also a Satlantic SQM). So I did some research, since I could not find my original notebooks.
The SQM paper (Page 200.10) gave the 1A lamps as Gilway model 187, 1.05A at 4.2V dc and the 3A lamp as Welch-Allyn model 01160, at 3.45A and 5V dc.
Gilway (now International Light Technologies) still supplies M/N 187, and I ordered 16 lamps. A drawing is HERE (155-1691 Gilway187.pdf). It is hard to read but adequate, and there are other links on the web. The base is a G3.17 bi-pin and the filament resistance is 4ohms.
Welch-Allyn discontinued the 01160. They recommended the 01111-U and I ordered 24 lamps. It is higher in power that the 01160, 20W vs 17.5W, and operates at 3.35A and 6V. A drawing is attached HERE (C SK-DAB-01111.pdf). The base is G4 bi-pin and the size is the same as the 01160. I tested it – if the voltage is limited to 5V dc (as may be the case with the YES system), this gave a current of 2.86A. In other words, if the YES power supply is limited to 5V then when it is asked to run at 3A it would switch from constant current to constant voltage and we don’t recommend this because of lamp filament thinning with burn time. The other drawback to 01111-U is it’s 100 h lifetime. However, this will be extended because we are derating the current. The good news is at 2.86A it was nice and bright white. However, it won’t achieve the max color temperature of 3325K unless we can run it at full power.
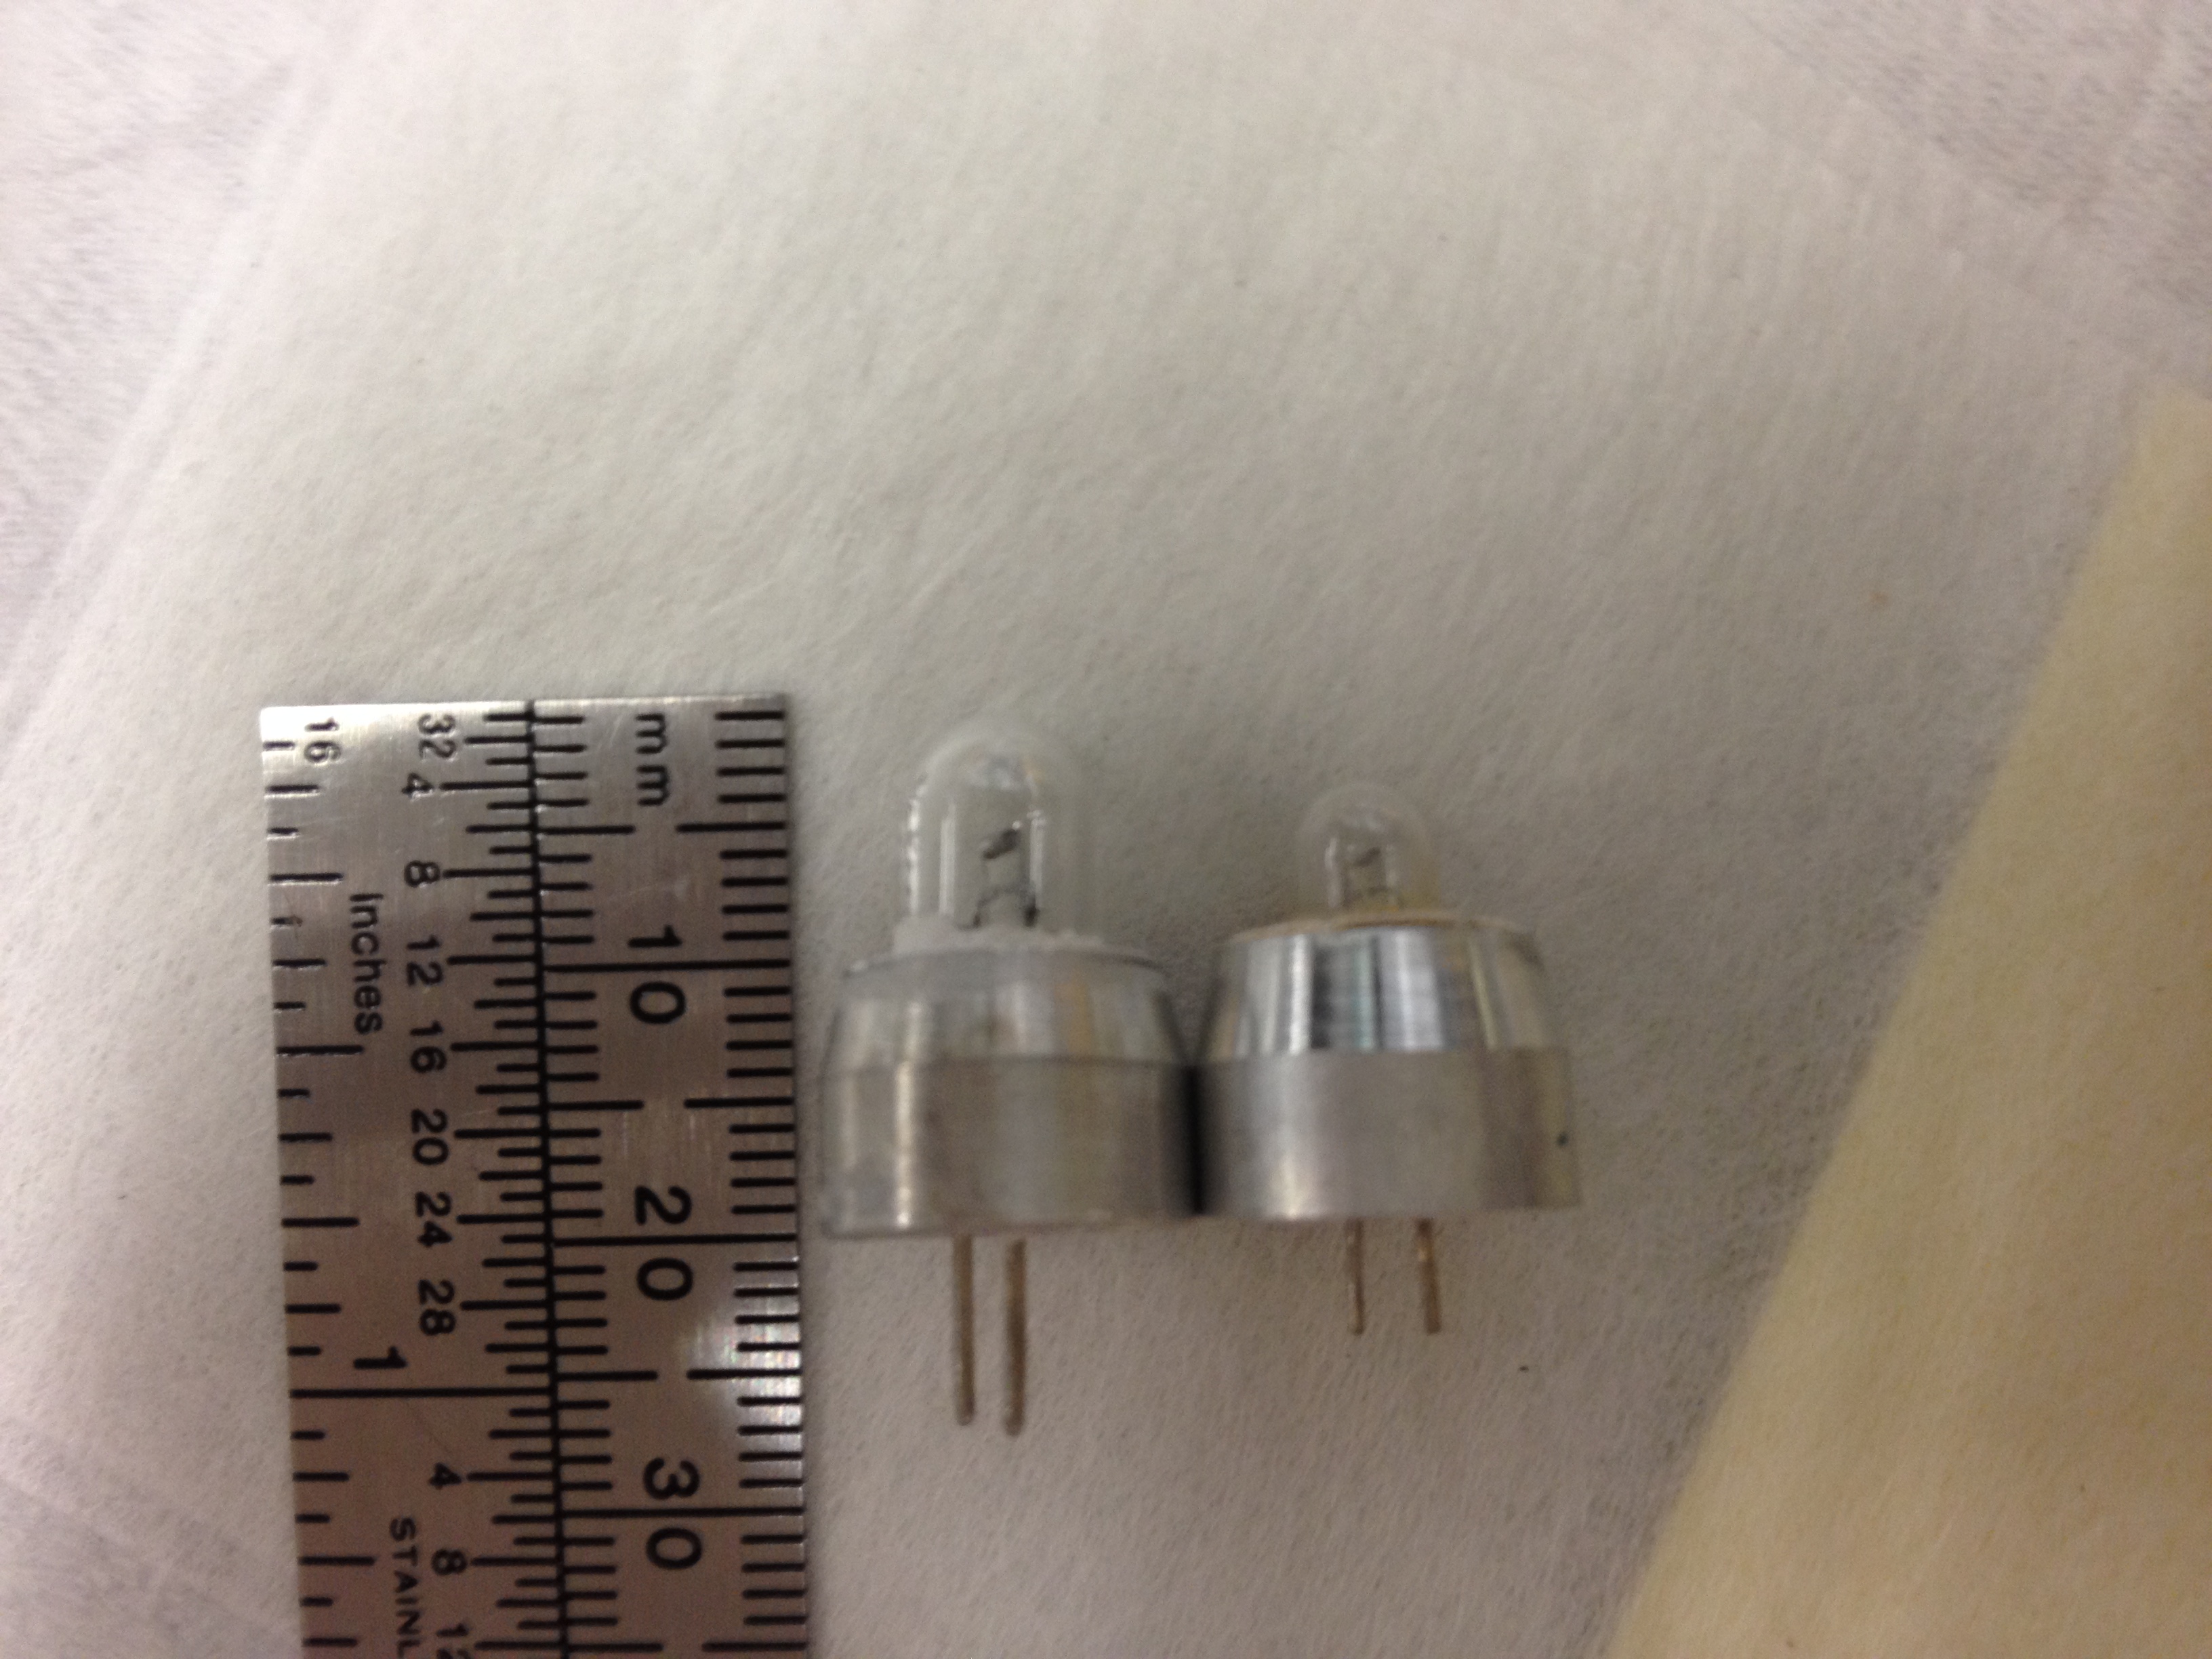
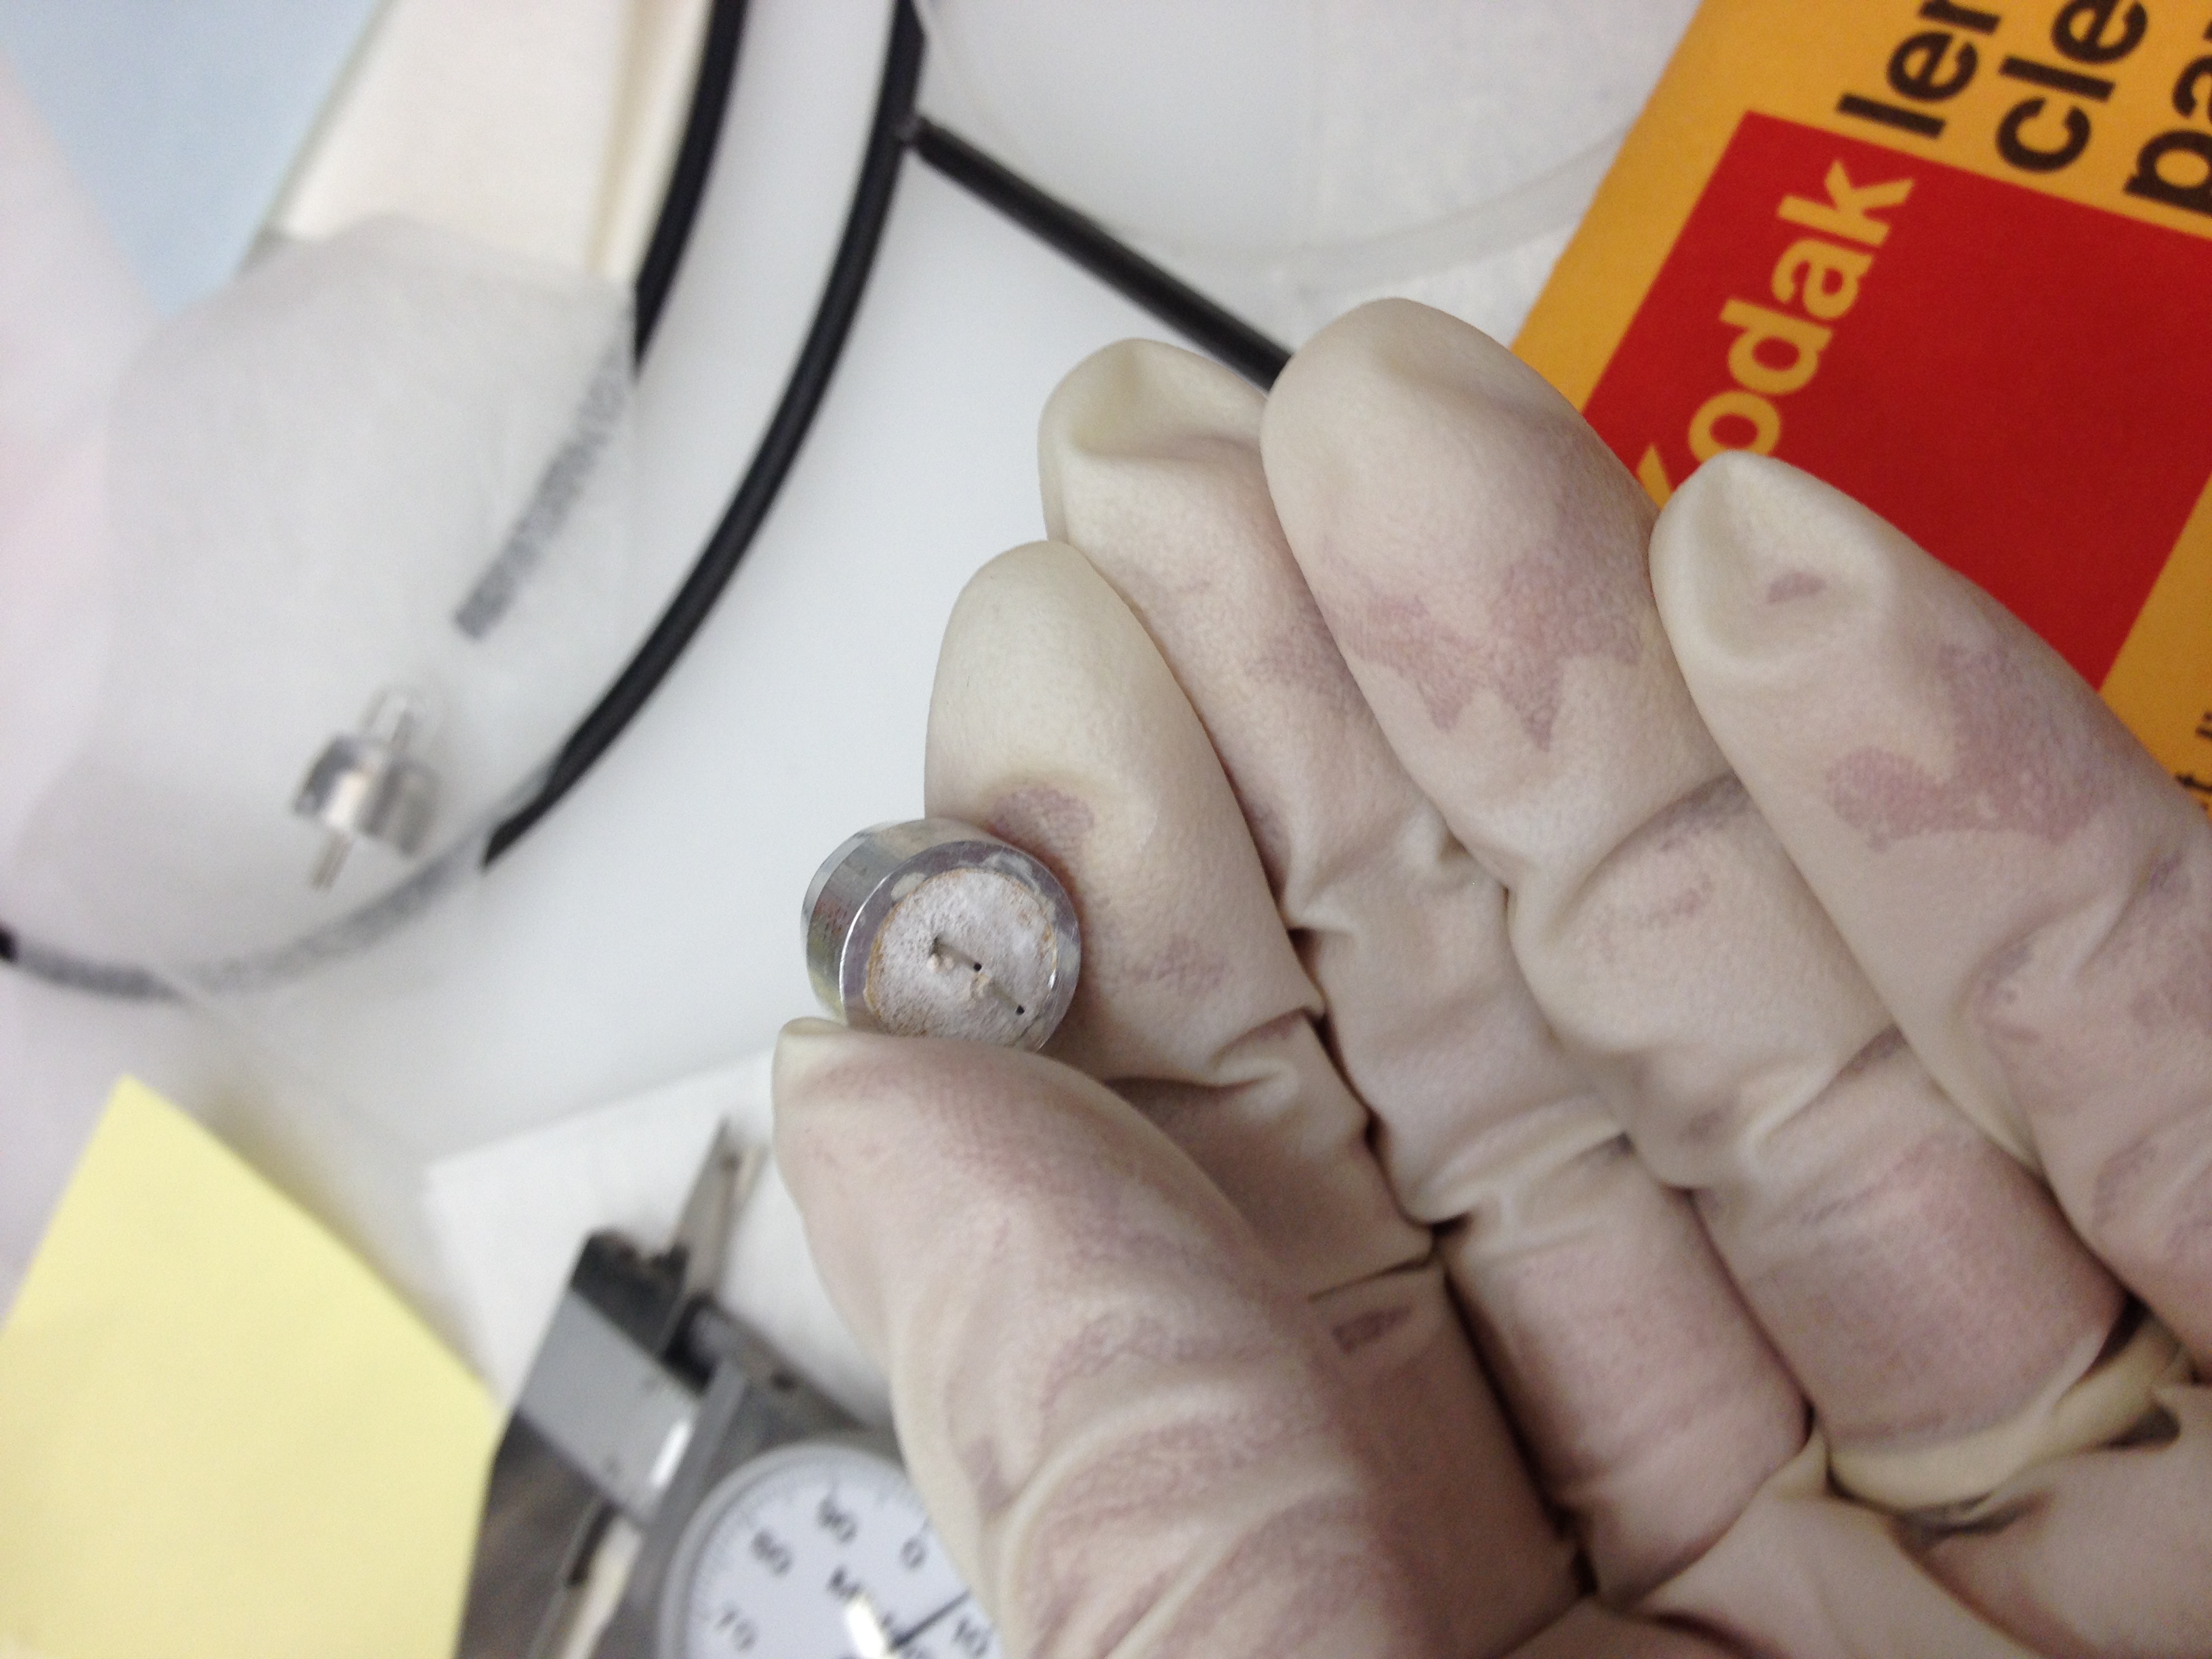
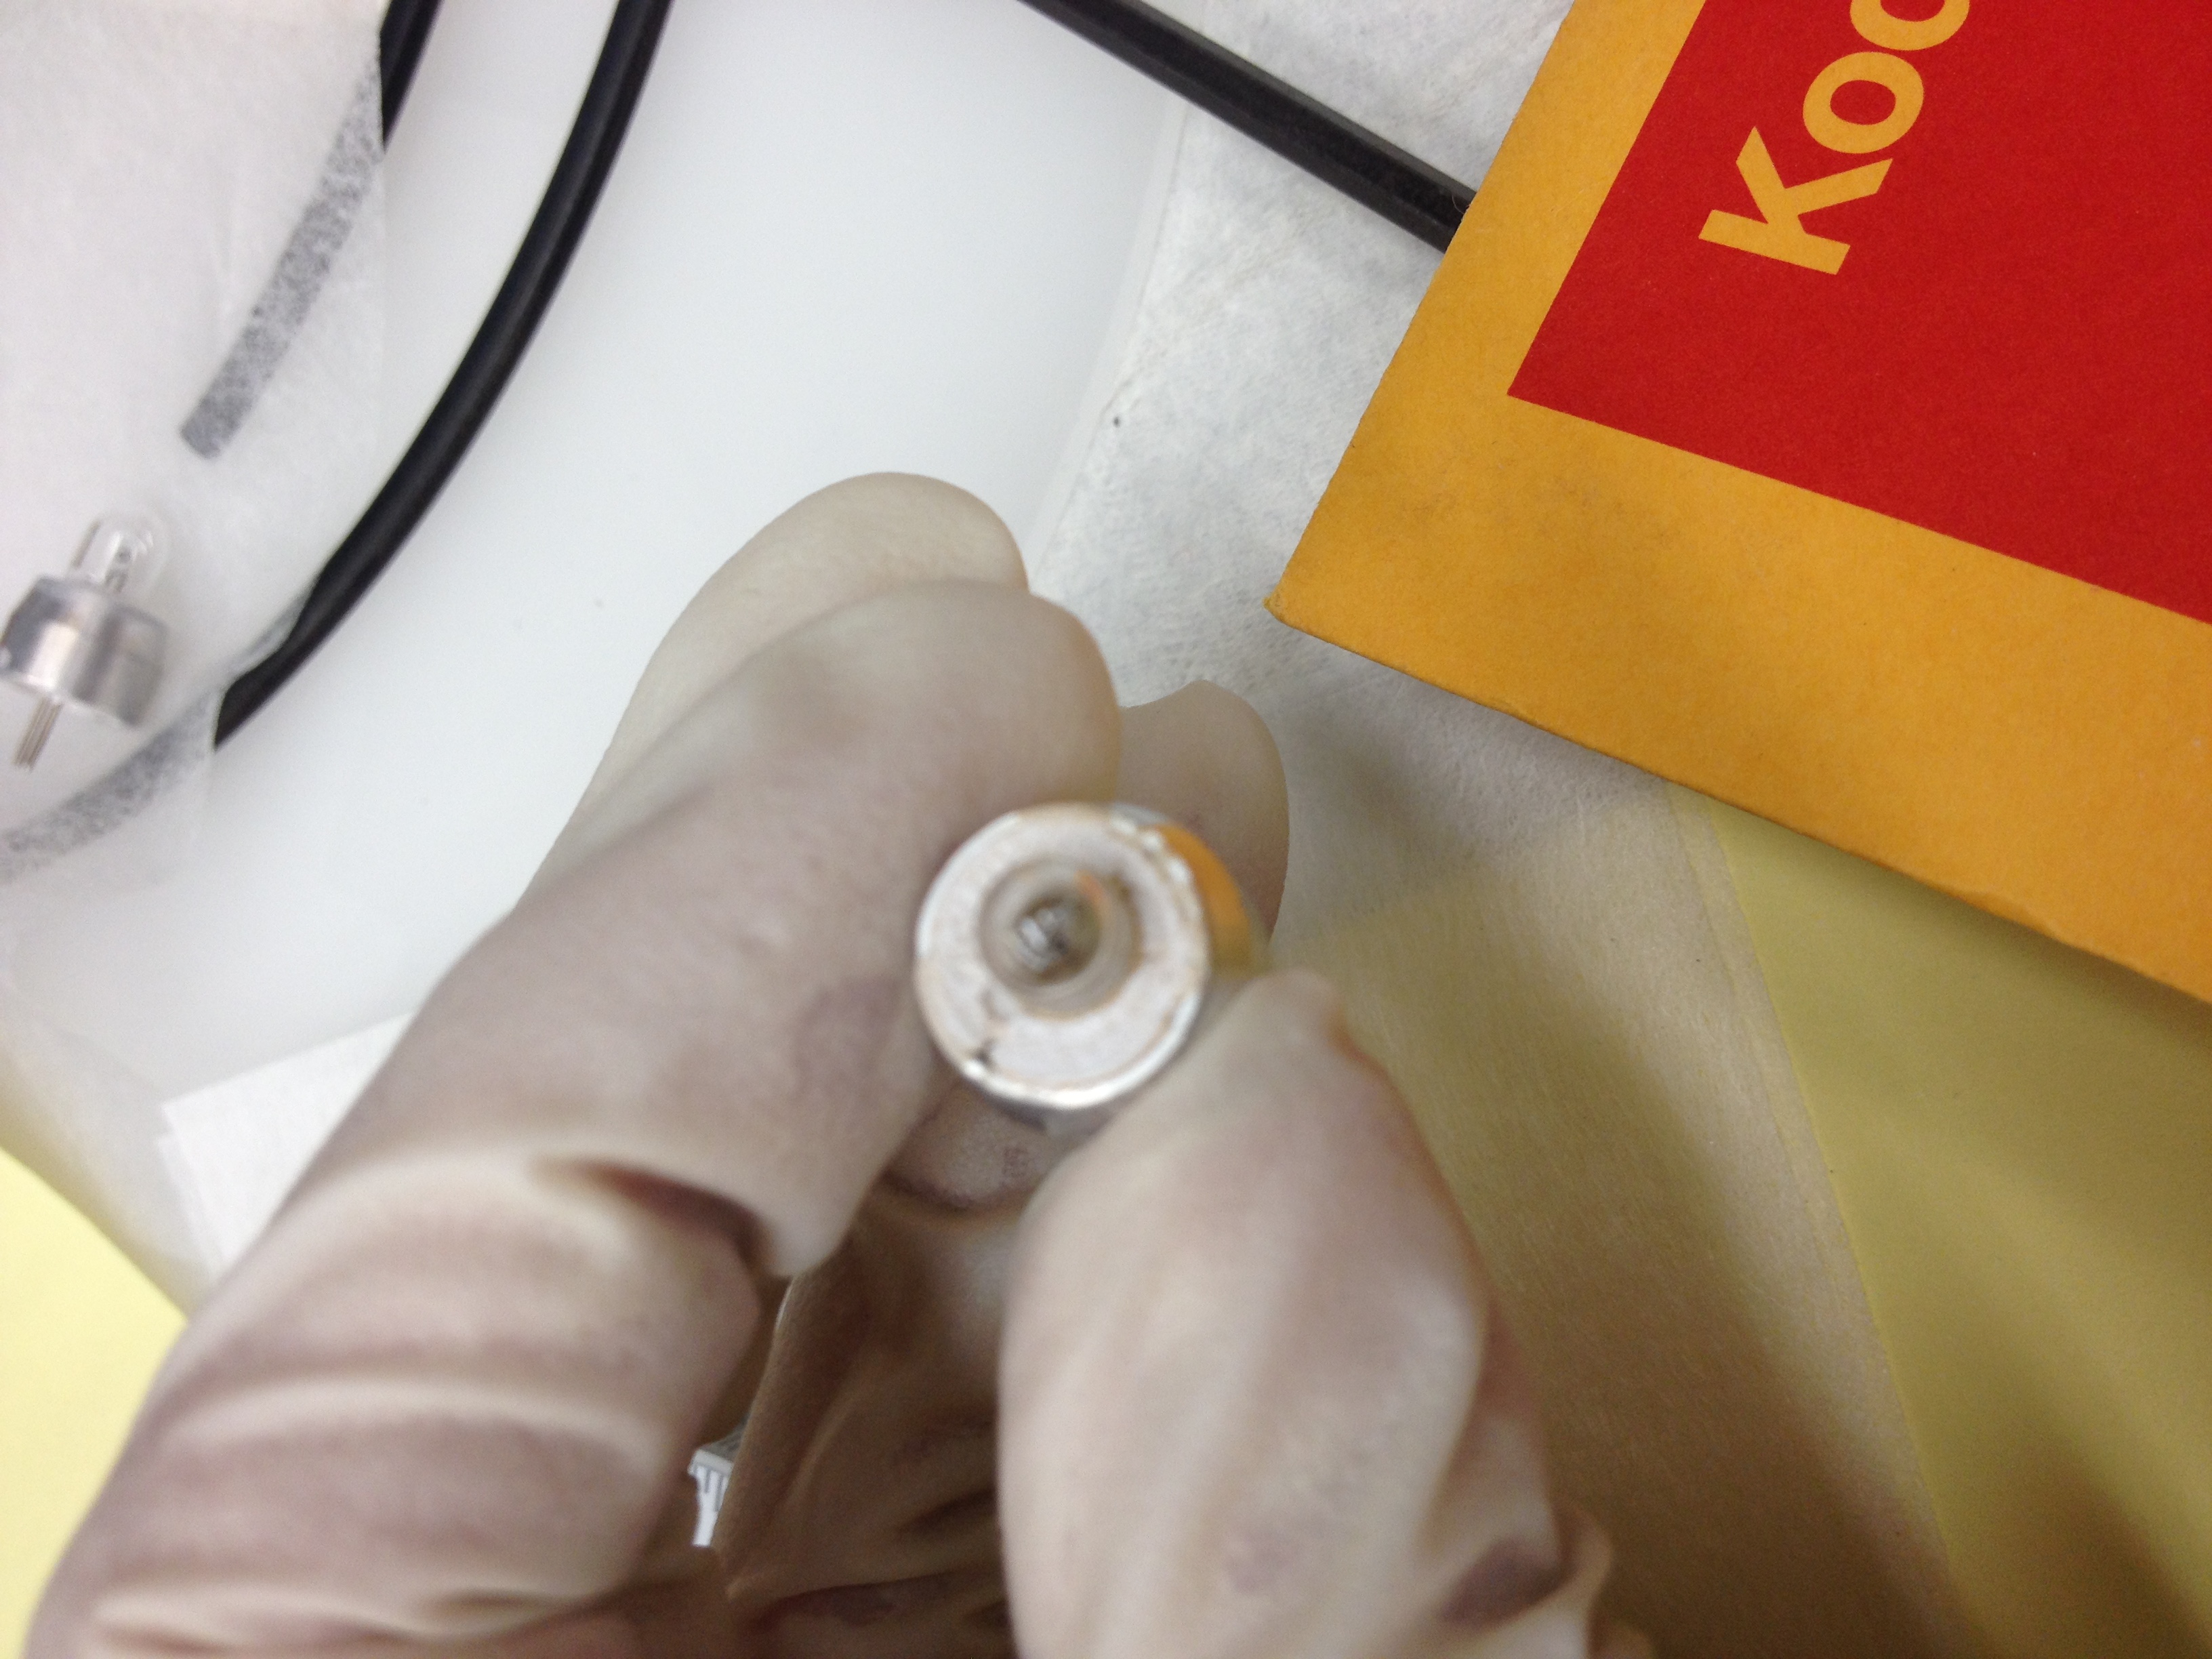
The second issue is the lamp fixtures and potting of the lamps. Figure X.1 (3A1A_together.jpg) is a photograph of a 3A and a 1A lamp removed from the SQM. We needed to do this in order to make the replacement lamp fixtures, since we had no drawings. The bevel mates to a corresponding surface in the lamp bore hole. The 3A lamps are then held in place with a snap ring, and the 1A are held behind the socket with little clamps. The shops measured the fixtures and got the same overall dimensions, see the drawing HERE (Lamp_fixtures.pdf). The potting material touches the lamp envelopes and is flush with the top and bottom of the lamp fixtures, see Figures X.2 and X.3 (1Apottedbottom.jpg, 1Apottedtop.jpg) for the 1A lamp.
I am concerned about placing the potting material against the lamp envelope. However, looking at some vendor supplied miniature lamps that are installed in aluminum fixtures, maybe this is OK practice. I will be working with the NIST shops to replicate the lamp fixtures and design a way to pot the lamps so they are centered, perpendicular, and the leads stick out the correct amounts, which is 0.14” for the 1A lamp and 0.25” for the 3A lamp. The potting material flows until it hardens. Note the shops pots the NIST FEL lamps, so they have some experience.
|
| 3A and a 1A lamp removed from the SQM |
|
| The potting material touches the lamp envelopes and is flush with the top and bottom of the lamp fixtures for the 1A lamp |
|
| The potting material touches the lamp envelopes and is flush with the top and bottom of the lamp fixtures for the 1A lamp |